About MeI want to help change the lives of others the way my life was changed through better health. I am an advocate of getting back to natural, as much as possible. SubscribeCategories
All
ARCHIVES
|
⇠ Back To Blog
Laundry Powder6/20/2022  I have a quick and easy post for you today: DIY laundry powder. Making your own laundry powder is so simple. It takes 5 minutes! WHY DO I WANT TO MAKE MY OWN LAUNDRY POWDER? I’m so glad you asked! Here are my top 3 reasons!
We already mentioned easy so we’ll move on to the frugal part. You’ll save quite a bit of money making your own versus buying detergent at the store and you only need to use two tablespoons per load. It’s literally pennies on the dollar! Conventional laundry products are full of chemical fragrances. They contain chemicals to get the dirt out of your clothes, and more chemicals to keep the dirt from sticking back onto your clothes in the rinse cycle. That’s just the tip of the iceberg and don’t even get me started on Dreft for babies. What a load of marketing that product is! Oy! Here’s what you need:
Ingredients:
Instructions:
Have fun and enjoy! Do you make laundry powder? Is your recipe similar?
⇠ Back To Blog
Citrus-Rose Bath Salts6/20/2022  Are you looking for a beautiful, functional, aromatic, easy-to-make gift for someone who is difficult to buy for? These citrus-rose bath salts are all those things and so much more! They are so simple to make yet a complete luxury experience! Sounds like a pretty good sales pitch! Baths are very therapeutic and health-promoting. They help pull toxins out of your body and send nutrients like magnesium (which most people are deficient in), herbs or essential oils into your pores. This is great for boosting the immune system, calming frazzled nerves and healing through aromatherapy. Make sure you have a shower filter to take the chlorine out of your water or you’ll be sending *that* straight to your organs. You can find good filters and water softeners here: http://watersoftenerguide.com 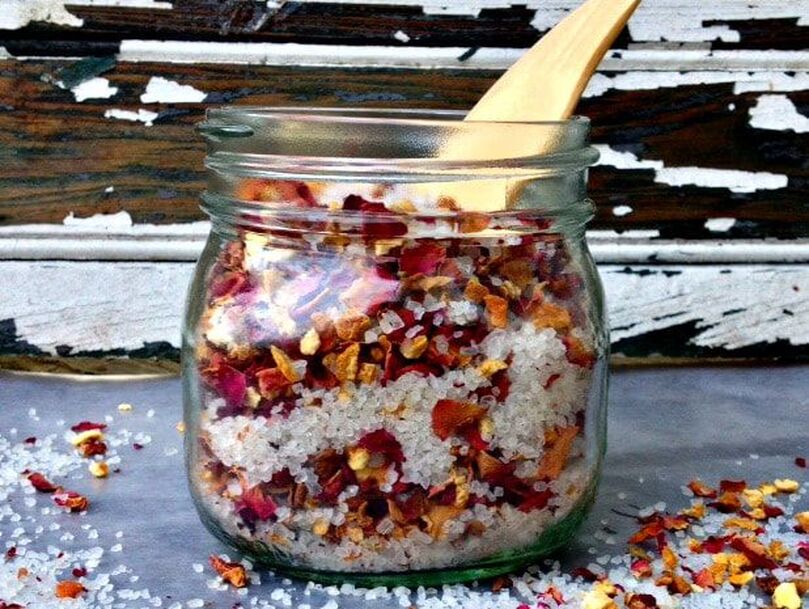 If you’ve got 5 minutes you can make this. All you need are these ingredients that can easily be sourced online at Mountain Rose Herbs, Amazon and some local stores. Click on each ingredient link for purchasing suggestions.
Ingredients:
Instructions:
⇠ Back To Blog
 Stretch marks are no fun! For the belly butter I purchase all my essential oils here except for the neroli. That I get here. Click Here and head on over to Mama Natural to get the recipe for Blossoming Belly Baby Butter for Pregnant and Postpartum Mamas!
⇠ Back To Blog
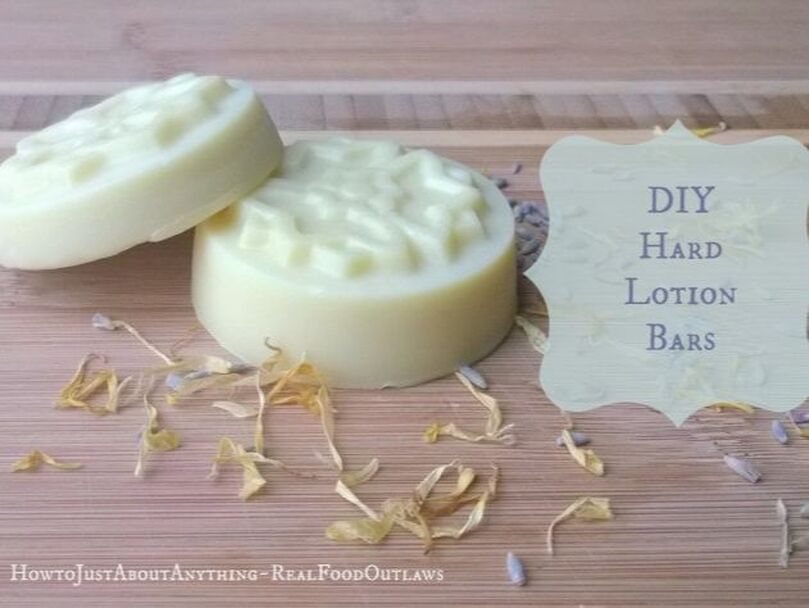
 There’s nothing more luxurious than a whipped body butter made from all organic ingredients, scented with some of the most coveted oils on earth!DIY personal care products can seem like a daunting undertaking, but they are fairly simple. It’s really just like cooking! What I do is take a base recipe and while using the same proportions, change butters, oils and scents to my custom preferences. Since learning how to make my own body butters a few years ago, I’ve been experimenting with my favorite essential oil scents. So far, my favorites are chocolate-mint, orange, rose, and this heavenly vanilla scent with just a hint of mint. What Equipment Do I Need?Not much at all! I use a glass measuring bowl in a medium-sized pot as my double boiler, a bamboo skewer, measuring cups, and a KitchenAid or hand mixer. Ingredients:
Instructions:
If you want to learn how to make more of your own DIY beauty products, Heather Dessinger from Mommypotamus has a fabulous book appropriately titled DIY Organic Beauty Recipes.This invaluable book covers everything from homemade shampoo to baby products, deodorant to lotion. The ingredients are easy to find and the recipes are easy to follow. I love it! You’ll be making your own personal care products in no time!
⇠ Back To Blog
 Herbal tea is wonderful for medicinal purposes and for pleasure. Hibiscus tea has long been used to help regulate blood pressure and paired with other synergistic herbs is a wonderful, refreshing beverage. There’s just something about drinking flowers that just lifts your spirits and makes you smile! My favorite way to drink hibiscus herbal tea is iced. It’s perfect for a hot, summer day! I love adding it to my water kefir and kombucha second ferments for a lovely, tangy flavor. It’s yummy hot as well but really works best as an iced tea. The Herbs & Their Benefits The herbs used in this blend are chosen for a reason. They all contribute added benefits to the tea.
Like many of my herbal tea recipes, I use parts as the measurement of choice. A part is whatever you want it to be: a teaspoon, a tablespoon, a cup, etc. Links to where to find the herbs to make this tea are clickable in the recipe itself and additional links are provided below. Ingredients:
Instructions:
Anyone wanting to add a little zip and zest to their day or who wants an overall healthy tea, hibiscus herbal tea is the one! Be nourished. Be happy. Enjoy! All of these herbs are also available at Mountain Rose Herbs or the Bulk Herb Store.
⇠ Back To Blog
How To Make Soap Using Dried Herbs2/16/2022 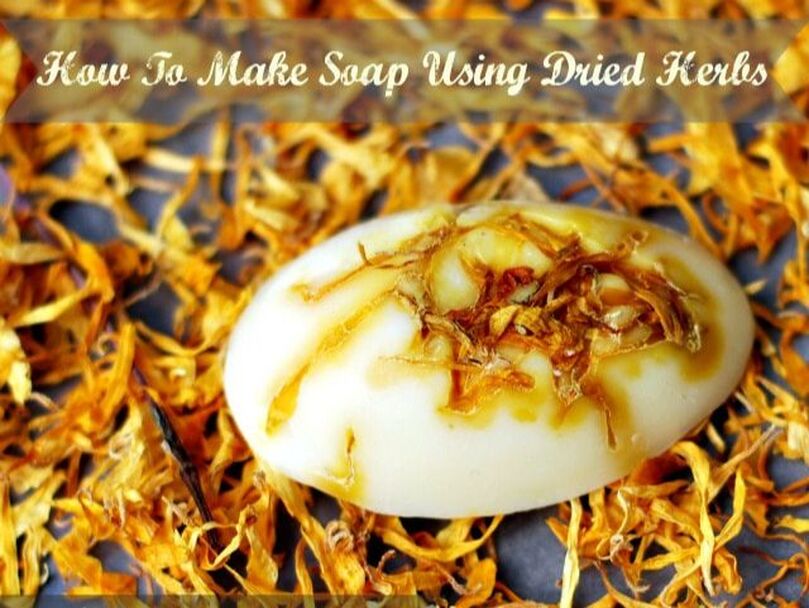 Making soap can be very intimidating. The powers that be will have everyone believing that lye is this big, bad scary substance to live in fear of. The truth is, yes lye is caustic in it’s original form. Once it goes through it’s saponification process and turn oils into soap, it’s no longer caustic. Once you start making soap, you will be addicted and never want to stop! I am serious! There is something so amazingly pioneer-ish about making your own soap. Like Little House on the Prairie! I’ve been experimenting with a few recipes and really like this herbal soap recipe from Shalom Mama. I made an amazing holiday spice soap from it for Christmas gifts that everyone loved! I was asked by a friend recently to make favors for a baby shower that were egg shaped. I didn’t want to do an herbal infused soap but I did want to use herbs as a decorative part of the soap. I chose calendula to go with the earthy, patchouli, lavender and cedarwood essential oils that I used to add scent. You could use cornflowers, roses, lavender petals or any other colorful herb or flower. I found egg molds here. I turned to Shalom Mama’s tutorial once again but added and took away things as needed to suit what I was looking for. Please visit the herbal soap recipe to see what equipment you will need and for detailed pictures if you are a beginner soapmaker. Ingredients:
Method:
This recipe makes enough soap for 5 egg soap molds plus one loaf pan. If you are just making soap loaves, it makes two standard sized loaves. Have fun! All the soapmaking ingredients like oils and herbs can be found at Mountain Rose Herbs.
⇠ Back To Blog
 Herbs to Help Relieve Stress and Encourage Healthy Weight Loss Many women overeat because they are stressed out or emotional about something going on in their lives. They find comfort in food and eat even when they are not really hungry. Usually their food choices are sugars and carbs which causes weight gain. This can lead to even more stress which leads to more emotional eating…it’s a vicious cycle! How do we solve this problem?
This is where DIY Slim Assist Adaptogen Tea comes in! Herbs can help nourish the body and bring harmony. They can aid digestion and elimination, help balance hormones, relieve stressed organs, and gently detox the body. The herbs chosen for this particular blend are:
Ingredients:
Instructions:
While this blend is gentle enough to drink daily, it’s best used as a 21-30 day detox type tea. Drink 1-4 cups daily while cutting back on sugar and refined carbs (like bread, muffins, cakes, etc.). Don’t want to make it yourself? Buy it from my 90210 Organics Shop! Be nourished. Be Happy. Enjoy!
⇠ Back To Blog
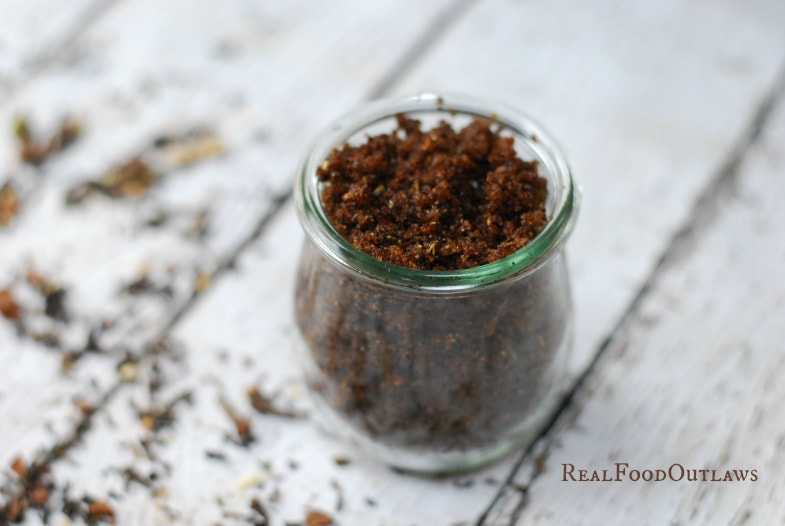
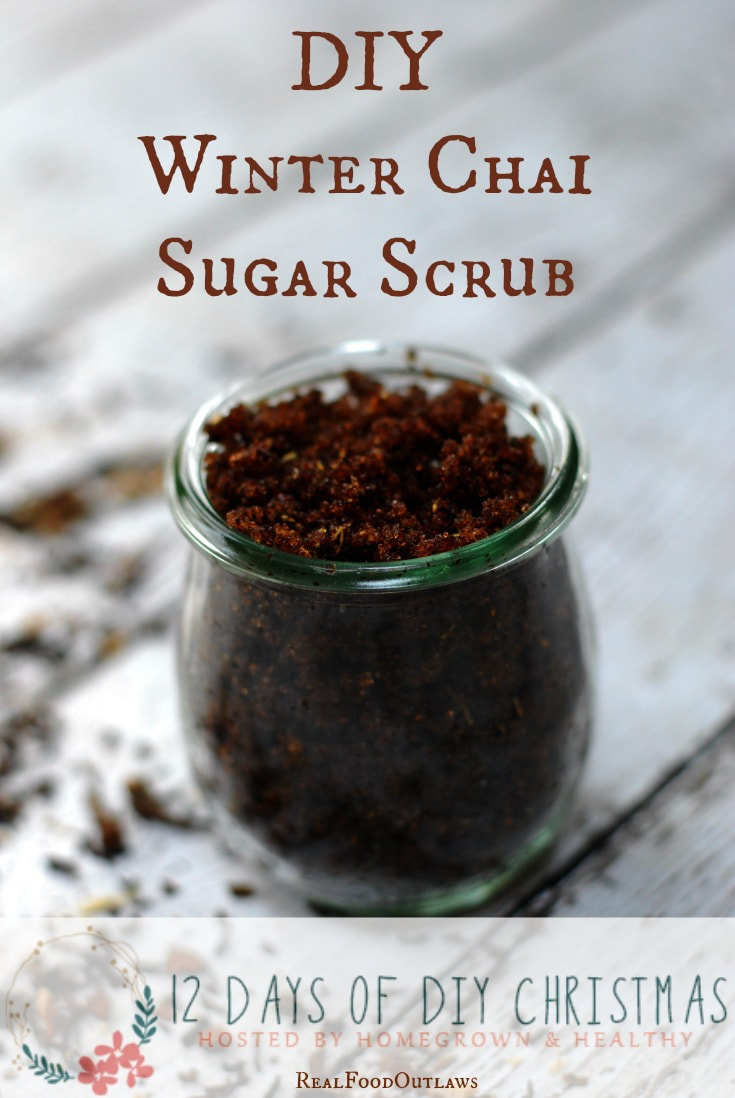
DIY Winter Chai Sugar Scrub2/16/2022 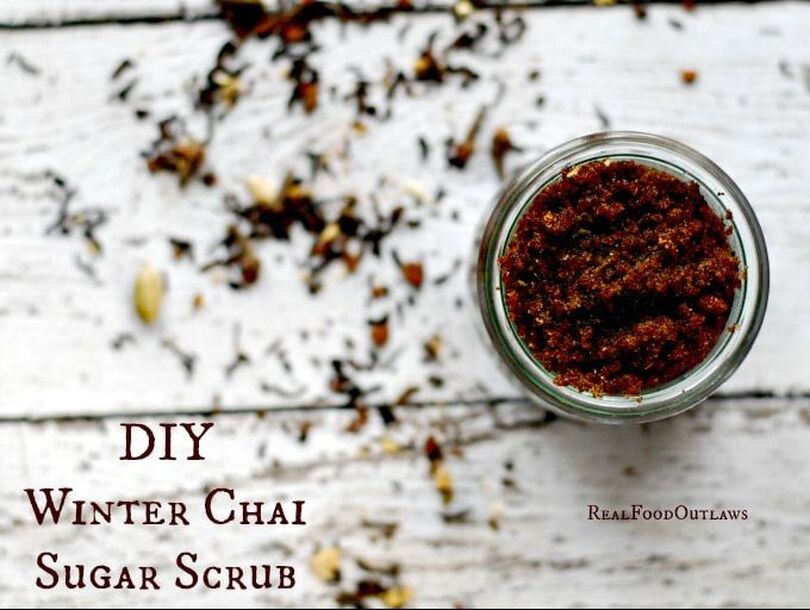
|
 RSS Feed
|
|
Latest Blogs |
Useful Links |
About RLOReal Life Outlaw is dedicated to providing crucial nutrition facts and individual health advisory.
|