
About MeI want to help change the lives of others the way my life was changed through better health. I am an advocate of getting back to natural, as much as possible. SubscribeCategories
All
ARCHIVES
|
⇠ Back To Blog
Grain-Free Sandwich Wraps2/7/2022 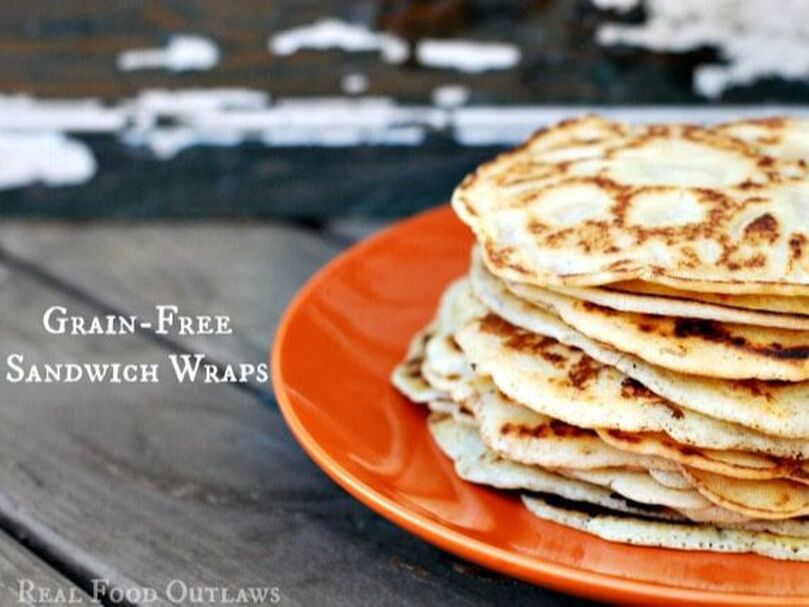 I am super excited about this recipe! I have been playing around with varied recipes for flat bread and tortillas from My Heart Beets and Health Starts in the Kitchen and absolutely love the results I’ve gotten! I tweaked the recipes a bit because I was in need of a sandwich wrap and am in love with arrowroot flour! My kids love sandwiches for lunch. My oldest asked if I could please make him wraps even though we are grain-free for January. I had made the flat bread/tortillas earlier in the week for the Salmon Salad recipe and knew they would probably work as wraps, but I wanted something a little more nourishing and filling. So, grain-free sandwich wraps were born! Arrowroot is wonderful for the gut. It soothes irritated bowels and has a calming quality that can be very healing. It is in stark contrast to some grains that can harm the guts of those sensitive to them. It is sold as arrowroot starch, powder or flour. They are all the same thing. You can also use tapioca starch/flour. It’s slightly “stiffer” but works beautifully. Coconut milk contains lauric acid, antimicrobial lipids and capric acid. These constituents make these a very beneficial milk. Heating it will destroy most of the properties that using it raw would keep intact, but it is still a very healthful ingredient to use in recipes. Almond flour should be used in moderation. It takes about 90 almonds to make 1 cup of almond flour. Check out this article from Empowered Sustenance about the problems with almond flour. I have read the pros and cons and still choose to use it…just not in everything and not all the time. Coconut flour is a good alternative and I will be experimenting with it for wraps very soon. Gelatin Hydrosylate – This doesn’t actually “gel” in the recipe because it is a hydrosylate, but I like to sneak in gelatin to recipes whenever I can. It adds protein, amino acids and other valuable nutrition. For more information about gelatin and gelatin hydrosylate, click here. The yield for the recipe is about 12 6-inch wraps (the egg-free version makes about 6). I make a big batch and refrigerate the extras to use throughout the week. I’m assuming you can freeze them, but I haven’t tried to be sure. The recipe contains clickable ingredient links with suggestions on where to purchase. Prep Time: 5 minutes Cook Time: 1 hour Yield: 22 Ingredients:
Instructions:
 These take awhile to make if you do them one-at-a-time. I use a cast iron skillet and make them one-by-one. I suggest you use a large pancake griddle if you are short on time and do a few at once. I use it as an opportunity to multitask and unload my dishwasher and clean my kitchen! Just be mindful of the stove. If you’re absent-minded like me and really get into your cleaning, you may forget you are cooking something! I hope you like these grain-free sandwich wraps! They roll quite nicely and don’t break or tear. My kids like to grill their sandwiches in our panini maker and it works out perfectly with these. Be nourished. Be happy. Enjoy!
⇠ Back To Blog
Grain-Free Personal Pizzas2/7/2022 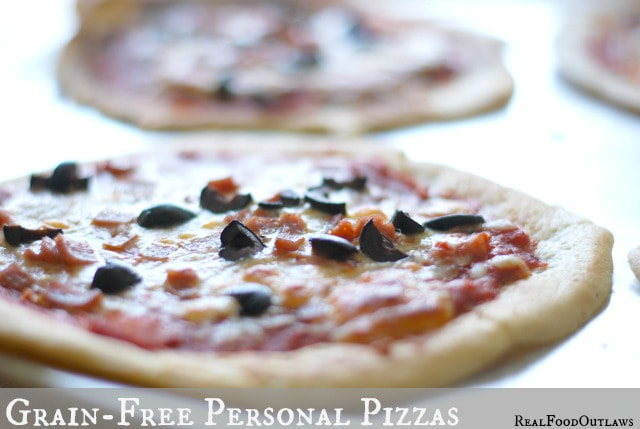 Pizza is one of my favorite foods! If you ask my kids, they will all say the same thing! When they heard we were going grain-free for the month of January they were very upset that we wouldn’t be eating pizza, which is our Saturday night tradition. Last night, we decided to make grain-free personal pizzas using yet another variation on our favorite flat bread recipe. It was a little time-consuming but we worked together as a family and had a fun “Toppings Bar” so everyone could make their own. Going on a special “diet” does not have to be boring. You can still have all of your favorite foods, just real foodified and healthier. Homemade pizza in general is a healthy choice. Choose organic ingredients, full-fat cheese and other healthy topping options. 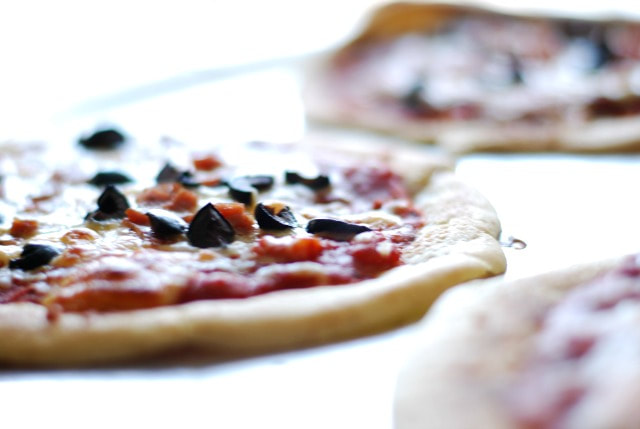 If the batter is too thick, thin with water. If you can’t get it not fall apart, add an egg. It was fine without an egg for me, just needed a little thinning with water. If you decide to use vegetables or bacon for toppings, you will need to cook them first. Once the cheese and toppings are on the pizzas, they only cook until the cheese is melted. If you want a softer crusted pizza don’t crisp the crusts as long in the oven. If you do like that crispy, thin-crust style, let them stay for awhile longer so they don’t get too soft from the toppings. UPDATE: I make these flat breads at least two times a week using 2 cups almond flour, 2 cups tapioca flour, 2 cups water, and 1/2 tsp sea salt. We use them for sandwich wraps, burritos, fajitas, crepes, and pizzas. They are very versatile! Yield: Approx. six 6-8 inch pizzas Ingredients: For Crust:
For Toppings:
Instructions: For Crust:
For Toppings:
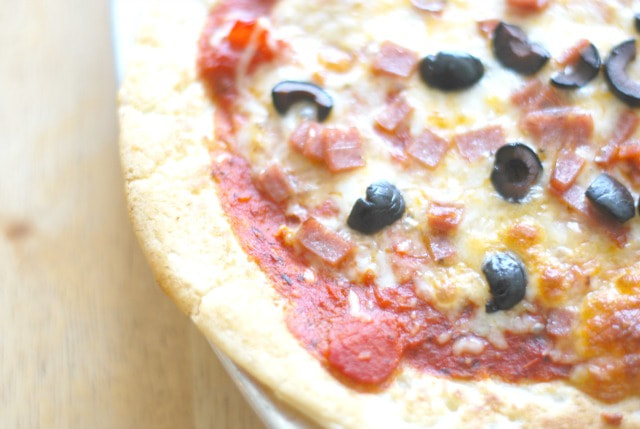 These were so good that we had leftovers for lunch today. They are the perfect size for one person and are so crispy and delicious! If you are grain-free and miss pizza, this is one way to still enjoy it! Be nourished. Be happy. Enjoy!
⇠ Back To Blog
Garlic Zucchini Fries (Grain-Free)2/7/2022  Garlic Zucchini Fries are so delicious! These savory beauties are garlicky, salty, and tender with optional parmesan cheesy goodness. Plus they’re a wonderful, healthier alternative to regular fries. It’s summertime and that means zucchini galore! There is always an abundance of zucchini during the summer. There are so many ways to use up this summer bounty. Zoodles, zucchini muffins, zucchini waffles, zucchini bread, zucchini cake, zucchini frittatas, zucchini soup, zucchini pancakes, zucchini fritters, zucchini cookies … you get the picture. People go crazy for zucchini when summer comes around. Do you love zucchini as much as everyone else? I love it for so many reasons. Zucchini is so easy to prepare. That’s one of the reasons I love it so much. It can be sautéed in minutes for a quick weeknight veggie. It’s great thrown into casseroles, soups, pasta, meatloaf, and so much more. Then there’s zucchini fries … oh my goodness they are so yummy and addictive. The best part … they’re so easy to make! It’s almost not even a recipe because it’s so simple. All you have to do is grab a bunch of zucchini from the market or your backyard if you’re lucky enough to have them growing. Cut them up into “fries”, mix them around with some melted healthy fat of choice, Celtic sea salt and some garlic powder. So easy! You can stop there … or if you can eat dairy, I highly recommend sprinkling some finely grated parmesan all over the zucchini fries. It’s so good! 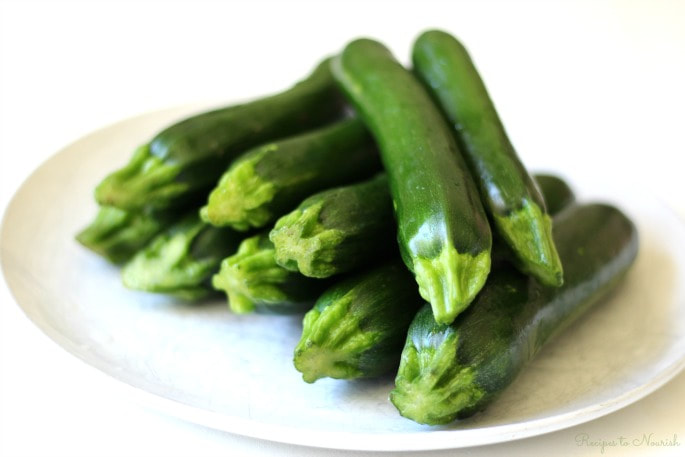 Then pop those healthy fries into the oven and bake them until they’re just perfect and light golden brown around the edges. My family goes crazy for these delectable garlic zucchini fries! They disappear so fast, I always end up wishing I had made more. by Emily @ Recipes to Nourish Ingredients:
Instructions:
Notes:
Eat Well & THRIVE! 
⇠ Back To Blog
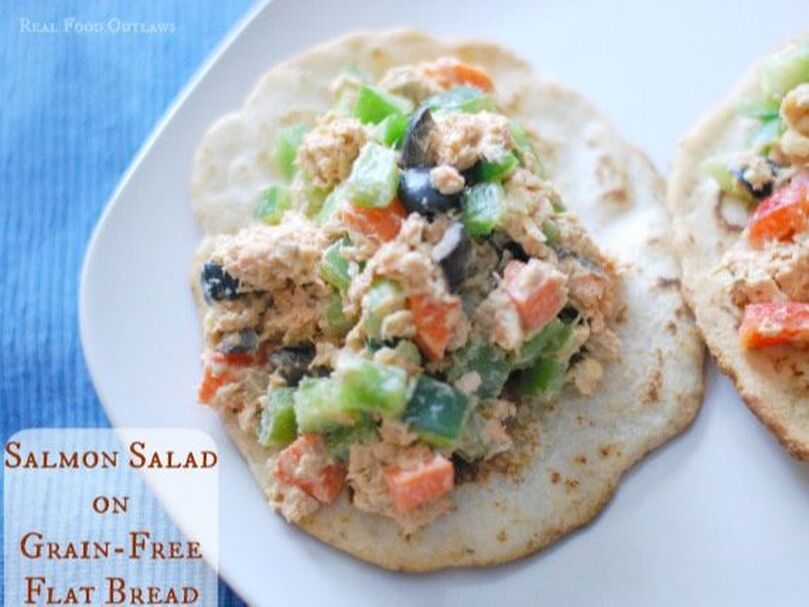 If you’ve been with us this month so far, you know that we are grain-free for January. This is something we did last April and it both got my creative juices flowing AND helped me shed some extra pounds that I was hanging onto postpartum. I have to tell you, my kids were not happy about the “no-bread” thing. What they don’t realize is that mommy can make “bread” with no grains! Once I convinced them of this, they were much more cooperative with our plan for the month. I have the privilege of networking on a daily basis with some pretty incredible bloggers. We have a couple of Facebook groups where we chat daily about recipes and natural living. It’s been the main reason my blog has grown the way it has over the last few months. I couldn’t do this without them! I tell you all that to tell you this. The flat bread recipe I’m using with this salmon (or tuna) salad on grain-free flat bread comes from two of the bloggers in that group and I am so excited to share it with you! I first saw a recipe for grain-free naan from Ashley over at My Heart Beets. I bookmarked it! I then saw a grain-free flat bread recipe over from Hayley over at Health Starts in the Kitchen and knew I just had to try it. They are friends who live close enough to each other to do lunch. I’m so jealous! You’ll have to click over to their sites which are both linked above to get the flat bread recipes in their entirety, but look around while you’re there! It’s worth it! You will LOVE their blogs! I spend a lot of time on both! 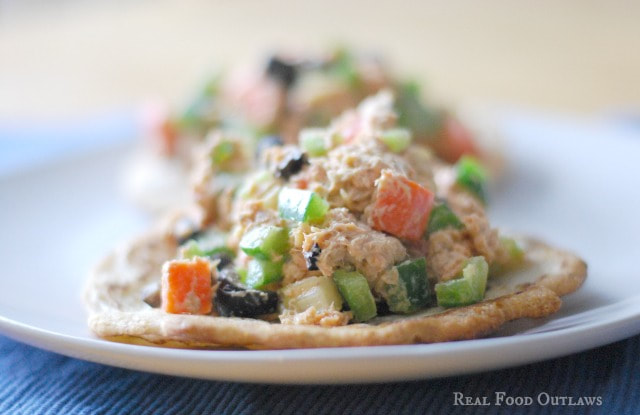 For the flat bread: For 6 servings, double the flat bread recipe. For 3 servings, make half the salmon salad recipe or just have lots of extra to eat on its own. 🙂 Any kind of salad like this is very forgiving. You can add or take away whatever you want and it will still turn out great. This recipe can be modified to your tastes and preferences. Don’t be afraid to experiment! Please Note: You will need blanched almond flour and tapioca starch/flour for the flat bread. Need a dairy-free mayo recipe? Try this coconut and avocado oil mayo recipe from Jessica at Delicious Obsessions. Yum!!! Ingredients:
Instructions:
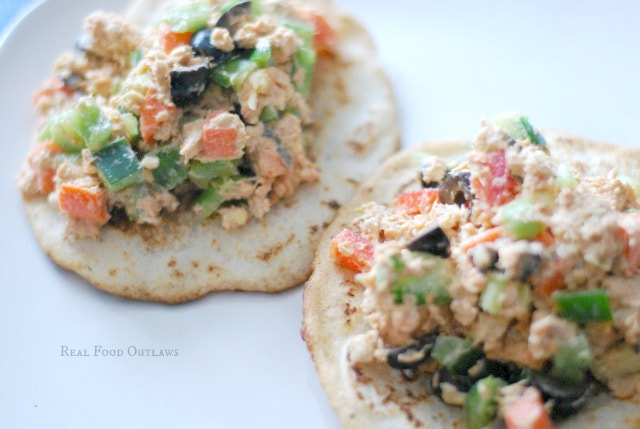 This salmon salad was very enjoyable and the grain-free flat bread was slightly crisp on the outside and tender in the middle. It was perfect! I was asked to make it again tomorrow for lunch! Be nourished. Be happy. Enjoy! What challenges have you faced when changing your diet? Opposition from family members? The tendency to go back to old habits? Tell us in comments. |
 RSS Feed
|
|
Latest Blogs |
Useful Links |
About RLOReal Life Outlaw is dedicated to providing crucial nutrition facts and individual health advisory.
|